Wednesday, 12 November 2014

Developing My Final Design

After learning how to create the intricate plait, it made me want to incorporate something like it into my final design. I thought the plait would be an Elizabethan influence, but if I used the slightly alternative intricate plait, it would put a modern twist on it. 

I experimented on my dolls head how I thought the plait could be added around the bun. The best method I found was to leave a section of hair at the back (that was original going to be used within the bun). I then created the bun, compensating for the missing section by moving some hair around - I thought this would be possible on myself because I actually have very thick hair. 

I then tried plaiting this section normally and wrapping it around the base of the bun, which worked, apart from the dolls hair was not quite long enough the reach the whole way round. However, I believe my hair is slightly longer so this may be possible on m own hair. 

I then used the same idea, but this time using the intricate plait. The problem I found on the doll's hair was that creating this plait makes you lose a lot of length of the hair, so it reached about half way round the bun, but I thought the design worked well and looked very unique. 

However, realising how much length would be lost made me question whether this would work on my own hair, so I tried something slightly different.. I sectioned the piece of hair, left out of the bun, into 2 pieces and plaited each and wrapped it around the bun from either side to then meet in the middle. This worked on the doll quite effectively when using a standard plait. 

Looking at the design from the back actually made me think that the plaits formed almost a heart shape, which I thought could relate to the Elizabethan era because they favoured heart shapes used within the hair. 

I then repeated this technique of having 2 strands of hair and experimented using the intricate plaits. Again, this just about reached for the doll's head, so I am uncertain as to how it will work on my own hair. 


To help me finalise my decisions, I am going to ask a partner to create my design on myself (like I did for them), and ask them to try the different plaits, and different ways of doing them so that I can assess what works effectively in terms of time, difficulty and the overall look. 

Practising Someone Else's New Elizabethan Design

This was my partners design that she gave me to create, however as we are not yet at the final stages, I helped her experiment with a few things. For example, she was not sure how she wanted to create the frizz - either by crimping, or by using the frizzing technique. We overcame this problem by doing half and half, so she could make a direct comparison and see what she preferred  She also wanted to try incorporating the intricate plait (previous post) between where the hair is straight and where it is frizzed. 


  • First of all, I sectioned the hair from the top of the ears.

  • I then crimped the right-hand side of the hair using Babyliss Pro crimpers (which gave a slightly bigger crimp)

  • I used the frizzing technique on the left-hand side

  • I then brushed out both the crimping and frizzing using a paddle brush
  • I added a plait on each side, using the top section of the hair (leaving out the fringe) and gripped this into place


  • I then had to straighten the fringe and the left over hair from the plait (because this was the modern influence in the design)

  • Finally, we brushed out the crimping and frizzing even more and pushed the frizzing up to add even more volume and more of an Elizabethan feel

After evaluating the style, the model decided she preferred the frizzing technique because it gives the look she was trying to achieve.

The only problem we came across and had to overcome is how the plaits will be secured and gripped into place. We also realised, that it is a better idea to straighten the top section of the hair before plaiting it because it allows you to get to all of the hair, instead of it becoming merged in with the frizzed hair. 

Furthermore, the model wants the design to have a fairly modern block fringe in her look, but her fringe actually needs a trim to be able to do this, so she is now aware that this needs to be done in order the make the look as successful as possible. 


Overall, I was very satisfied with the style I created. I feel we worked well as a team and communicated effectively in order for me to create the look she desired. I also helped problem solve and help Nicola finalise her decisions. 

Creating An Intricate Type Of Plait (see image)

  • You can do this with any sized section of hair
  • Ensure you have 3 clean sections to start a standard plait
  • Plait the hair as normal
  • When you come to the end, do not get very tight, just stop plaiting
  • Hold the 2 sections in one hand, and the other section in your other hand
  • Slide the 2 sections up the strand of hair which makes the third section
  • This will then shrink the plait; continue plaiting if required
This plait was actually surprisingly easy and looks very effective, for this reason I am actually thinking of incorporating it into my final design, possibly around the outside of the bun. I will practise this and see how it looks, and how it works with the rest of my design before making a firm decision. 

Backcombing Hair and Removing It

Backcombing Hair
  • Think about which way you want the backcombed hair to fall/be placed 
  • Hold the hair up nice and tall (if folding the hair back from the front)
  • Starting at the root, push the hair down with a comb
  • Gather the hair gently, and continue going up the hair until all of it is backcombed
  • Remember, there is no need to be aggressive
  • You can then comb the top section (the part on show) to make it neat
  • Or you can leave a piece of hair slightly in front of the backcombed section to place over the top

Removing backcombed hair
  • Make sure you do not try to wash this out straight away 
  • Using a paddle brush, gently brush the backcomb out
  • Do not be aggressive when doing this
  • Then once it has been brushed, you may wash it

Sunday, 9 November 2014

Kirsty Mitchell and Elbie Van Eeden

When photographer Kirsty Mitchell lost her Mother to a brain tumour to 2008, her grief drove her to retreat into a world of fantasy, inspired by the childhood stories her Mother read to her. “In the months that followed, real life became a difficult place to deal with,” she says. “And I found myself retreating further into an alternative existence through the portal of my camera. This escapism grew into the concept of creating an unexplained storybook without words, dedicated to her, that would echo the fragments of the fairytales she read to me constantly as a child.” Originally planned as a short project of only a few shoots, Wonderland has grown into a three year narrative, which Mitchell says “has been a roller coaster of emotion, and an enormous amount of effort, but now (finally) Wonderland is in it final stages, with its completion planned for the end of the summer 2012.” The project has brought together Mitchell’s love of fashion and costume, as well as art history and film. Every aspect of the shoots are carried out by Kirsty Mitchell and her make-up artist Elbie Van Eeden. Costumes, props, wigs and sets are designed are created specifically for each shoot and the results are amazing. 


I think some of the images can, in fact, be related to the Elizabethan's/New Elizabethan's. For example, in this image the model appears to have very pale skin, and red hair which incorporates curls and plaits, as well as the use of a very elaborate head accessory. 


The Queen's Armada: A fantasy queen sails a fleet of the most delicate paper ships.


This image reminds me of a person sitting on a throne, so relates back to royalty, and therefore to Queen Elizabeth. It also features the colour purple which demonstrates wealth, and was very desirable in the Elizabethan era, and this is actually the colour of the hair so it makes the image quite contemporary and modern. 

Reference: http://fadedandblurred.com/articles/making-wonderland-kirsty-mitchell/

Sunday, 2 November 2014

Initial Responses To The Brief

We were asked to create 3 designs in response to the brief (Elizabethan mixed with contemporary hairstyles) - they did not have to be final designs, just an idea. 


The first design I came up with was this... 
The Elizabethan inspiration is the use of padding to create the bouffant and the curls at the front for decoration (exactly like we have been learning), and the contemporary attributes are the fish tail plaits (essentially acting like Elizabethan tendrils). I would say fish tail plaits have definitely come back into fashion lately and that is why I have chosen to use them. 


beautifulwithbrains.com/2010/05/20/beauty-history-the-elizabethan-era/


The image to the left shows the kind of style I have took my inspiration from - the hair is all back off of the face (to leave a defined hairline) and the hair looks like it has a lot of volume (which will be created with the padding). 


http://galleryhip.com/elizabethan-hairstyles.html


This is where I got the inspiration from about the fish tail plaits - I want to use them to create almost the tendrils which are created in this image by curls.

This is where the modern/contemporary side of the hair will be incorporated into the design; as shown below, even celebrities are sporting the style on the red carpet, as well as for a more casual look in the day. 

Vanessa Hudgens wearing a fishtail plait
Blake Lively at the Savages premiere 

My second design was this...
The Elizabethan part of the style is the heart-shaped padding - this was very popular in the Elizabethan period and is a well-known design. However, I felt it was almost too well-known and would not be seen as contemporary, therefore I wanted to backcomb the hair and make it quite big and almost messy (similar to as shown below). 
http://www.pinterest.com
The other aspect of my design was to incorporate a french plait across the front of the hair to create a very sharp and defined hairline. The reason I chose a french plait is because this style has fairly recently been a trend and has been used in the fashion industry and by celebrities, so I thought this would help the style become more contemporary. Below shows Lauren Conrad (who arguably helped make this style a recent trend) wearing the look. 
http://www.peoplestylewatch.com/people/stylewatch/gallery/0,,20215149_20432295,00.html

My third and final design was this...

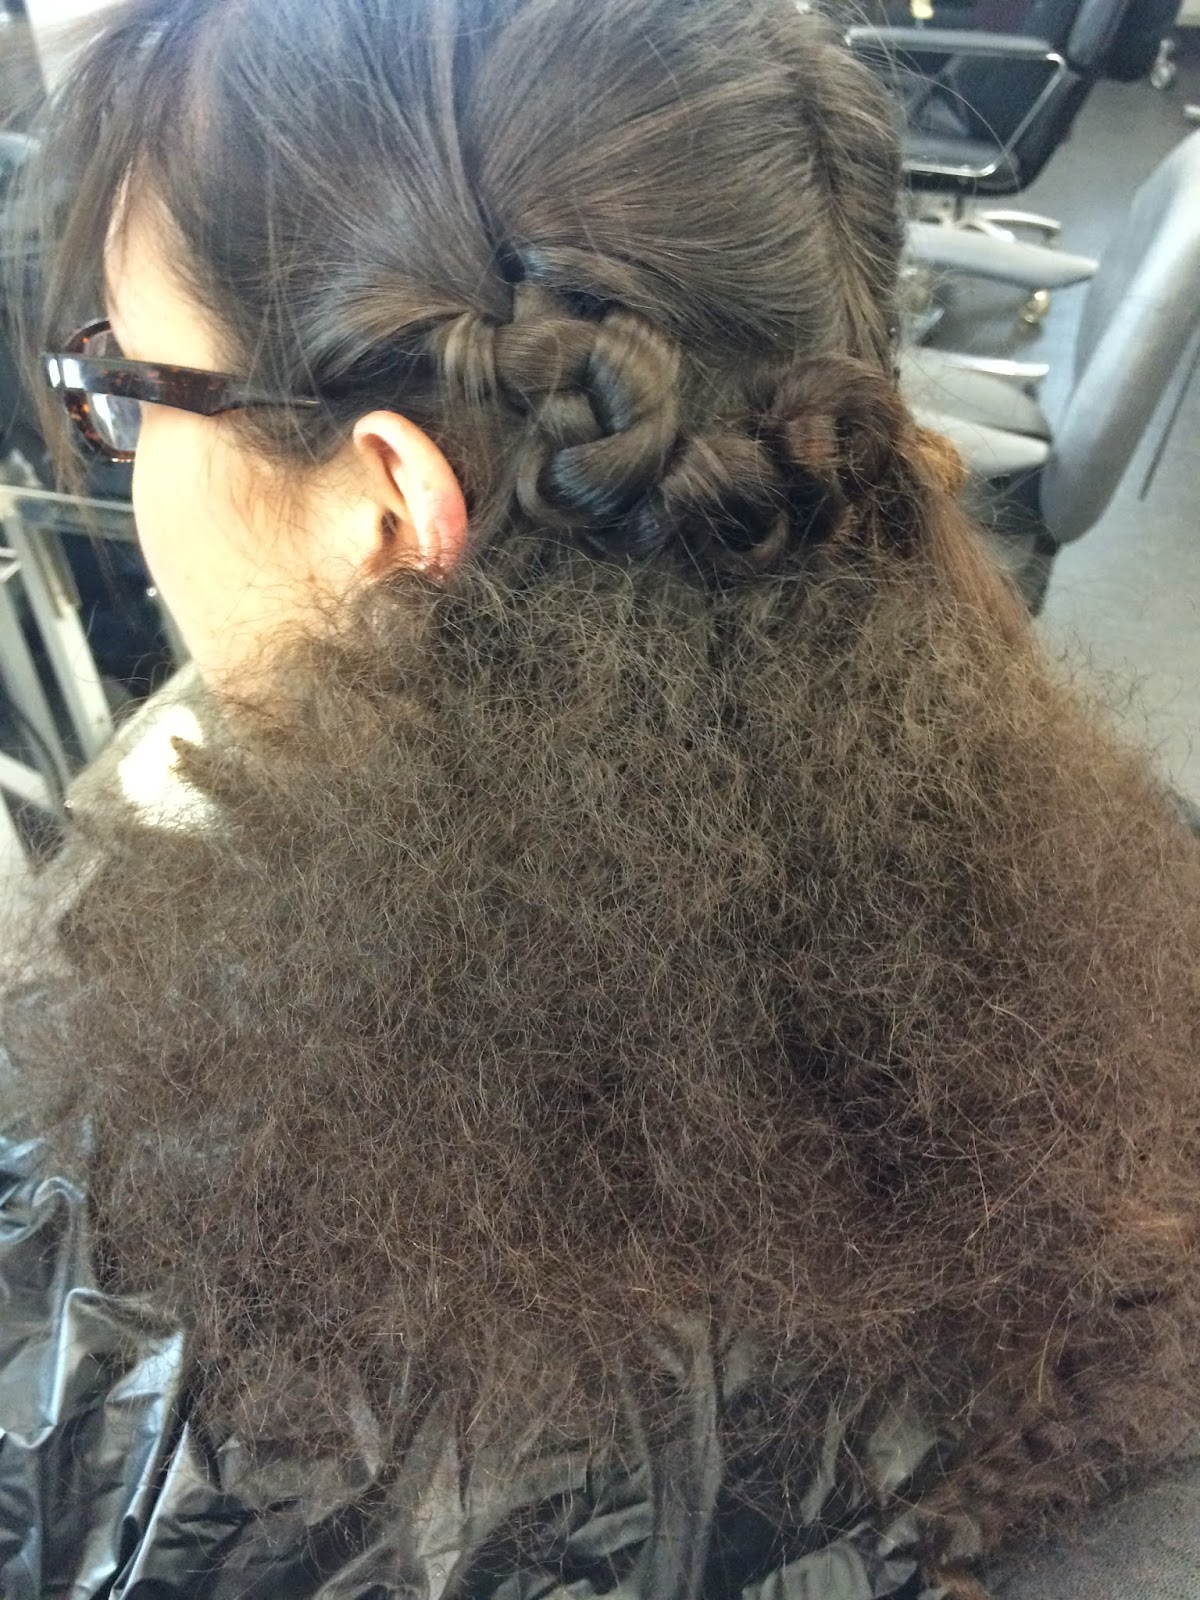
The Elizabethan part of the design is the style and use of tendrils for the half-down section of the hair - I will create this by using the frizzing technique (described in another post), but I will not brush the curls out, I will leave them quite rigid. Also, the use of the bun is quite Elizabethan-inspired because they would have had their hair in a bun, just it would have been covered by an accessory, however, in my design I want to leave the bun on show and push pearls into the bun (also another Elizabethan aspect). 

The modern part of the style is the use of a half-up, half-down look, since this has been very popular over the years, and still is today. Also, the use of the bun is fairly contemporary because often females wear their hair like this (but normally containing all of the hair), whether it be using a doughnut to create the style, or the way explained in a previous post. 
Kim Kardashian wearing a sock bun

Overall, I am actually quite satisfied with the designs I came up with and would be willing to move forward with any of the three styles, but I must choose one...

My least favourite out of the three is my second design because I feel like it is almost too obvious, and that once the style is created, it would just scream Elizabethan, and not appear contemporary in any way. 

After carefully assessing the other two designs, and considering all other factors (such as time, and the fact that it has to be created on my own hair), I have decided to go for the third design. The reason I have eliminated the first design is because I feel my hair will not create the desired look I am imagining - I want the fishtail plaits to be quite long and go around the front and rest quite far past the shoulders to really create the feel of tendrils, however, I feel my hair will not be long enough to achieve this, so for that reason, I have chosen the third design. 

Practicing Padding On Real-Life Models

This simply shows me practicing the padding process/technique on a real model's hair, instead of just a doll. In some ways, I found this slightly easier because you could communicate with your model (e.g. by asking them to tilt their head), but of course, you had to be more cautious not to burn the model's head, or singe their hair. 

2/3 rows of pin curls, and crimped section

French plait to act as anchor point for padding

Padding inserted into the hair

Hair from above and below padding to cover prop


Curls pulled back for decoration


 I was quite satisfied with how my look turned out, because I managed to successfully cover all the padding and create a good amount of height and volume, and importantly, I didn't hurt or harm the model!