Tuesday, 28 October 2014

Extended Buns And Plaits Practice

To create these buns and plaits, I used the techniques as described in a previous post. 
I thought of this style as almost a contemporary Elizabethan look because I felt the fish tail plaits (which are actually very popular in today's modern society) acted like tendrils, and the bun was used in Elizabethan styles, just it usually had some type of covering on it, so I have simply taken this off. 


Extended Padding Practice - Elizabethan Shapes & Structures

I created the padded look in the same way as the previous post, the only difference is that I crimped the whole head because I was going to use all of the hair on the padding, instead of leaving the bottom section down. It turned out quite successful (shown below) - I managed to get all of the hair around the prop, and it was all very secure. The only thing I would change is that I would ideally like it to be slightly tighter in some areas, e.g. you can see a loop at the bottom where the hair is too loose. Also, if I feel I could have positioned the prop higher up on the head, so as to create more of a heart shape. Although, for a first attempt, I was quite satisfied, and think I would get the hang of it with more practice, because initially I found it quite difficult.


I then decided to try something slightly more modern that featured a contemporary twist (in relation to our final brief). So I came up with this... 


The way I created this is by, instead of pinning the curls at the front of the padding, I lightly stretched them all the way over the padding and gripped them in at the back. This created a caged effect, which I actually really liked because it almost looked like a headpiece, caul or an alternative to any hair accessories that the Elizabethan's may have worn. I also left a few curls in at the front for decoration and to frame the face. 

If I was to take this idea forward I would consider leaving curls down at the back/sides, instead of the front, to act as tendrils. 

Inserting Padding Into The Hair

  • Section off the front part of the hair, (in front of the ear) leaving the section big enough to fit 2/3 rows of curls
  • Then curl this, row by row - these will be for decoration. Leave these curls in the pins to set and move onto the next section
  • Then section off the bottom part of the hair - you are not going to do anything with this section
  • Crimp the middle section, from where the curls meet down to around the middle of the head. This creates texture and volume for the padding. 
  • Figure out whereabouts you want the padding to go (by simply lining it up and placing it on the head). Ensure you have enough hair to go around the prop
  • Lift up the section of hair which covers this area and french plait this section to hold the padding in place; this is the anchor point (make sure it’s not too small)
  • Plait right to the end of the hair and using a kirby grip secure it in place, then wrap the remainder of the hair around this to create a double plait, again secure with a kirby grip

  • Pierce the corner of the tights (containing the padding) and push this into the plait and then back again to secure the padding
  • Repeat this at the other end and in the middle/front if required

  • Then wrap the back part of the crimped hair around the padding, and using your pintail comb, tuck any left over hair underneath and grip into place with kirby grips
  • Bring the front crimped hair over the padding and grip into place
  • Use a hair pin to move any hair around to ensure the padding is fully covered. Remember, you can actually cover the padding with hair prior to putting the prop in
  • Release the curls and position accordingly (using small hair pins)


Monday, 27 October 2014

Alice In Wonderland Vs. Elizabethan?


I have recently came across these images, actually on Lisa Eldridge's blog... It shows her interviewing Valli O’Reilly, the designer of this make-up (taken from Tim Burton's Alice In Wonderland).

The reason I picked this image out is because I believe it actually features hints and an essence of the Elizabethan era. For example, it shows the queen looking extremely powerful (with what she is holding and the jewels/pearls on her clothing), she has very pale skiing with red lips and very thin, almost not there eyebrows, she also has red hair with a very far back headline, shaped into a heart; all of which are aspects which are linked and related back to the Elizabethan period. 

In the interview, O'Reilly says "For the film, there were lots of concept meetings with the costume designer Colleen Atwood, who does pretty much all of Tim Burton’s movies, and a really short meeting with Tim where he basically told me to look at Bette Davis from the Queen Elizabeth movie that she did." She goes on to say "I took inspiration from that as well as Helena Bonham Carters face, she has a very heart shaped face and I sort of incorporated that into everything." This clearly relates to the Elizabethan style because women often wore headpieces which were heart-shaped or framed the face in such a way. 

Reference: http://www.lisaeldridge.com/blog/26587/make-up-moments-off-with-her-head/#.VE6t5b7Z5hA

Tuesday, 21 October 2014

Elizabethan Influences In Modern Society

Both of these images are taken from a magazine shoot for Vogue Russia in December 2010.

Sharif Hamza - Photographer
Simon Robins - Fashion Editor/Stylist
Yannick D'Is - Hair Stylist
Asami Taguchi - Makeup Artist
Ashley Smith - Model
Reference: http://models.com/work/vogue-russia---6/34521


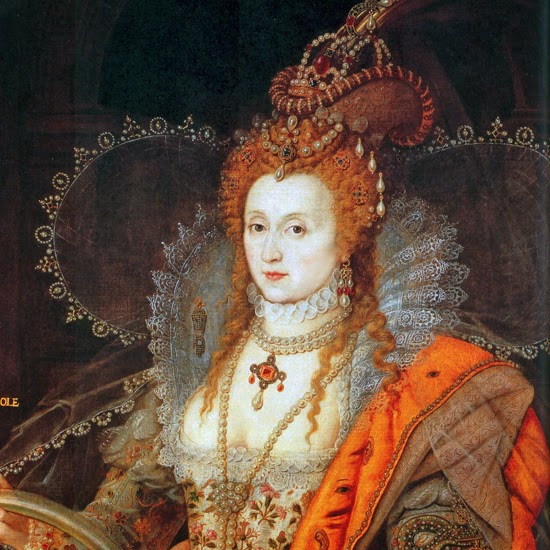
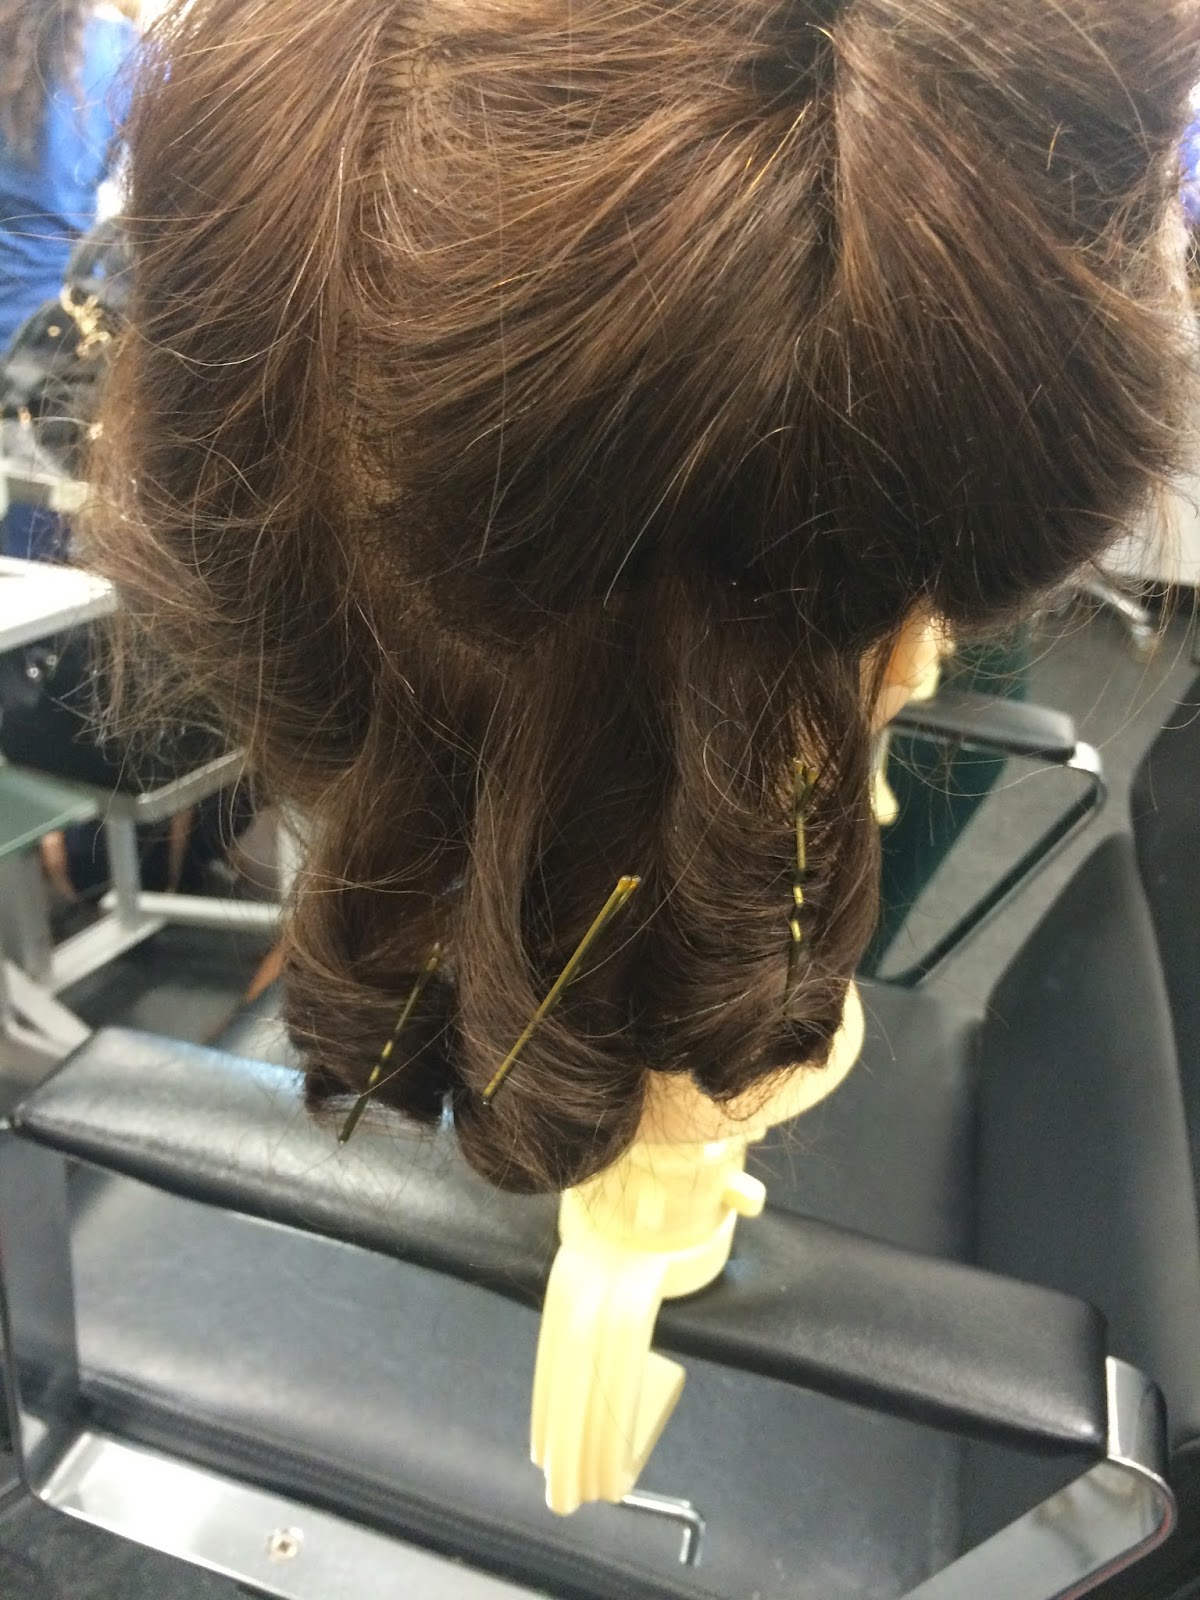
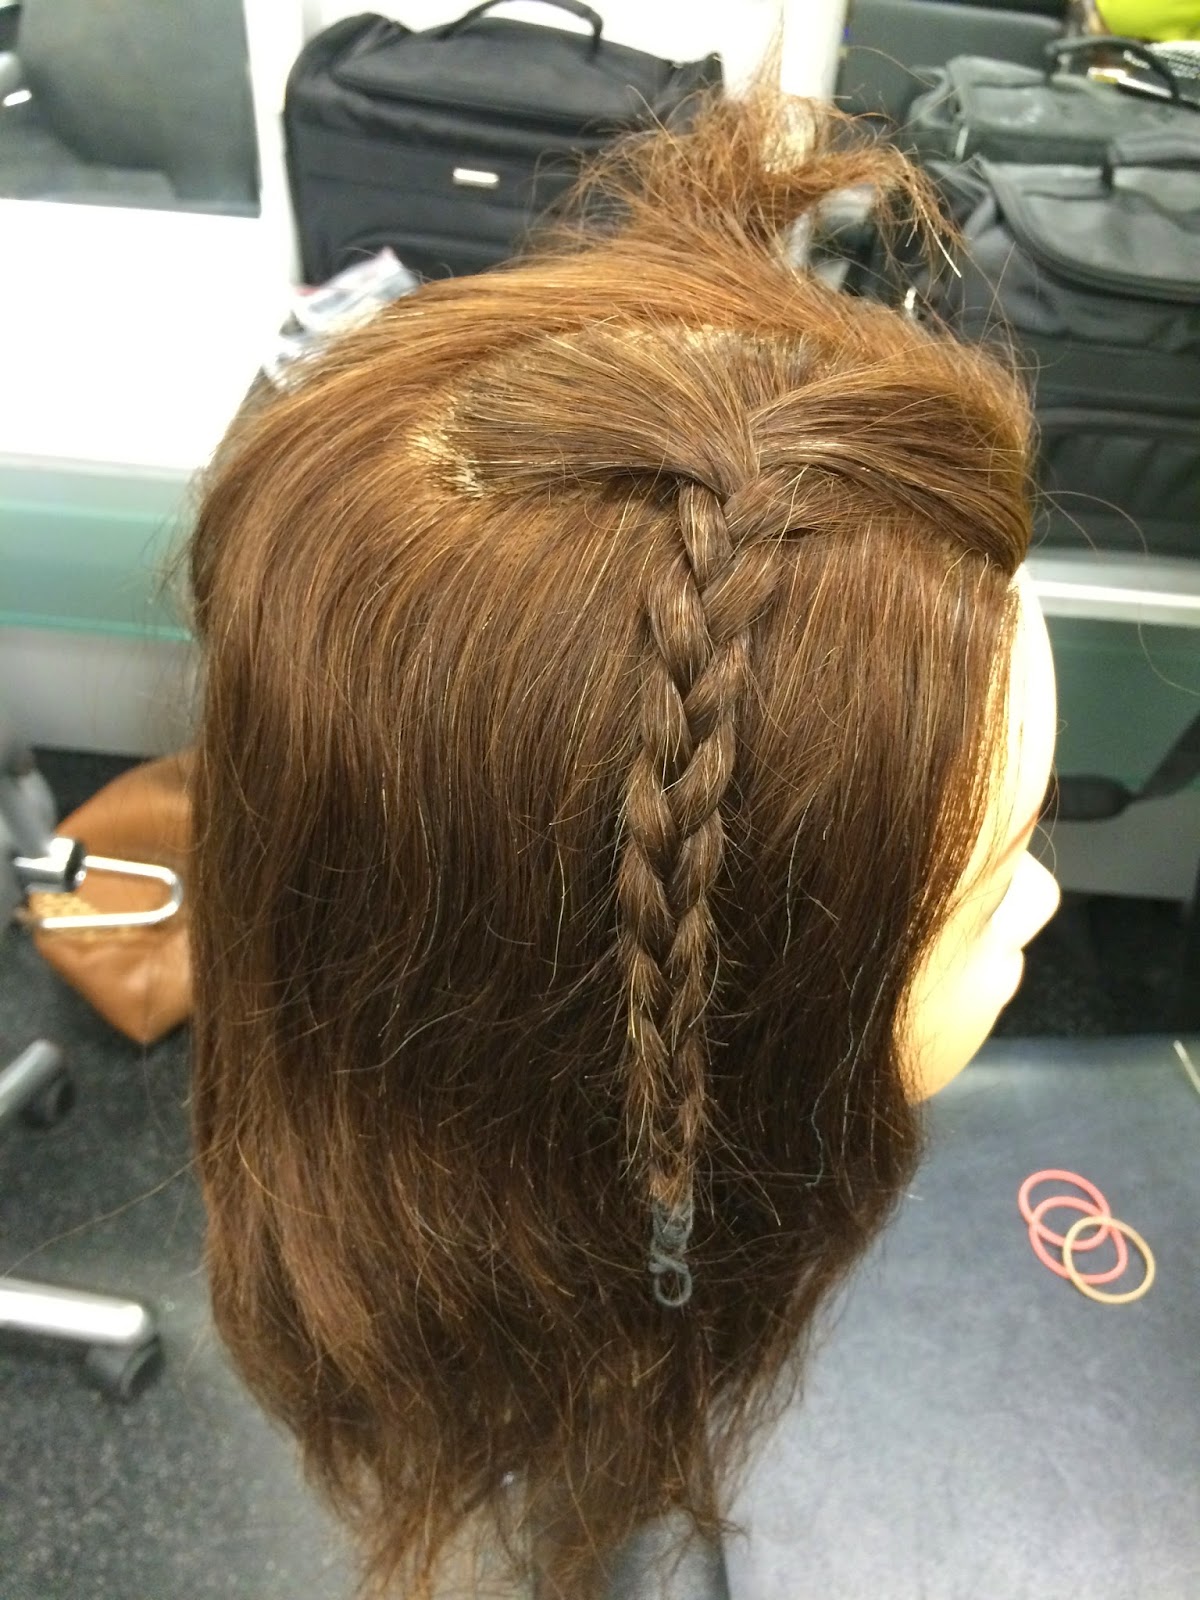
Although this images are clearly not strictly Elizabethan, you are able to see key traces and influences that the era has had on the styling of the make-up, hair, clothing and accessories. For example, both of the images show the model wearing some type of crown (in the style of Queen Elizabeth). The top image shows the crown being incorporated into the hair by the use of a bun, and then the crown has been attached within/over the top of the hair - this is similar to how they would put their hair in a bun and then put an item over it, e.g. a pillbox. Whereas, the bottom image shows a more realistic shape of a crown, however it has been put on at a slanted angle, to add a modern and quirky twist. Furthermore, if you look closely you are able to see that both images have incorporated plaits into the hair. 

The fashion garments and clothing clearly have an Elizabethan link; both of the images contain neck ruffles which were worn by both men and women during the era. The outfits within the images are much more daring and clearly reveal more skin and flesh than traditional Elizabethan items of clothing, but you are still able to see that the link is there. The top image uses an almost coral colour which contrasts with the dark background (like a traditional portrait would) but it is almost like the stylist has swapped a vibrant red for a more contemporary colour, which you now see used/worn much more in today's society, and this has been paired with a pearl bracelet, which were extremely popular amongst the wealthy in the Elizabethan period. In the second image, I think it would be fair to say that the item clothing the model was wearing could actually pass for Elizabethan, however they would have worn trousers/something to cover the legs, which clearly the stylist has decided not to do because it makes it modern and like a mini skirt/dress. 

The make-up on both of the models is not far from Elizabethan either - you are able to see that their eyebrows have been bleached out/covered and they both appear to have fairly pale skin on the face (not necessarily all over the body), although the eye make-up appears to be much darker than the Elizabethan's would have worn it, and in the bottom image the lips are dark, whereas Elizabethan's would tend to have red lips, but this just shows how times have changed and again, is just adding a modern twist to the look. 

The poses differ quite a lot between the 2 images - the top image is much more traditional; the model looks like she is sat/stood up straight, whereas the bottom images shows the model looking almost all over the place, which her hands waving around and knees facing in towards each other. 

Sunday, 19 October 2014

Different Types Of Elizabethan Hairstyles

Tendrils
Tendrils refer to something resembling a plant tendril, like a slender curl or ringlet of hair (shown in the image above). I really like the look of these because they are actually quite unique and different to standard curl and create more of a wave shape. 


Caul
A caul is a common covering worn with buns. It is a type of mesh hairnet that gathered and encased the hair, it often contained pearls and was stitched in the front. 

Buns
Worn most commonly by married or adult women, buns were an integral part of most Elizabethan hairstyles. Formed from the hair on the back of the head, buns facilitated the use of the high collars and ruffs popular at the time, and were almost always hidden under some kind of head covering. Often sewn into place rather than pinned, buns lasted several days between washing and resetting. 

French Hood
Anne Boleyn is credited with introducing the French Hood into England. During her stay at the French court she adopted the continental style, and continued to wear it upon her return to England. This portrait of Anne depicts the classic early French Hood, as it was worn in England-closely fitting the head, covering the ears, with a gradual flare towards the back and the usual gold, pleated ribbon around the base. Whether this pleated ribbon is part of the hood or part of a coif worn beneath the hood is unknown. The French hood is obviously a separate item, and not a folded back section of the veil worn with it. A row of pearls decorates the top and bottom edges of the hood.

Coif
The coif is, quite simply, a close-fitting cap made of a light fabric, usually white or naturally-coloured linen (or silk, for the nobility). It was worn for reasons headwear has been worn for centuries--warmth, protection from the elements, and to keep hair out of the face--but it's most important functions during Elizabethan times were conferring respectability upon a woman, and, for more skilled and affluent people, for decoration.

Attifet
An attifet is a heart-shaped headdress with a point that dips over the forehead, worn by European women in the 16th and 17th centuries. It was first worn by Catherine de Medici and Mary Queen of Scots. The attifet originated in France and was later also worn in countries such as England, Scotland and Czechoslovakia. Typically, the front of the attifet was held in shape by a wire frame. It dipped to a point over the forehead and then curved up and back in an arc on both sides. The attifet was usually made of silk or linen, and trimmed with lace or pearls. It was normally white, although there was also a black variant known as a widow's hood.

Reference: http://www.elizabethancostume.net/headwear/frenchhood.html
http://www.elizabethancostume.net/headwear/coif.html

Combining contemporary society with the Elizabethan era


This advert shows the extent to which you can combine the old and the new, and how it works extremely well. This is beyond something I would love to achieve by the end of my project, but it provides a lot of inspiration and a limitless amount of ideas.

And just a quick behind the scenes clip for more info...


And it's not just Beyonce who has been involved with combining modern day society and the past - the Geordie Shore crew (reality TV show) have also done the same, and it's safe to say, you can't get much more 'contemporary' than the Geordie's! Although this look is not necessarily Elizabethan, it has a key theme of royalty and just shows how the 2 different eras can work together. 

Thursday, 16 October 2014

Waves and Frizzing

The smaller and tighter the section of hair you do, the smaller and more defined wave you will create.
  • Take a section of the hair and put the hair in between the pin, sliding the pin down to the root
  • Wind the hair around the pin in a figure of 8 motion 
  • Continue doing this until you come to the end of the hair - at the end you can simply wrap the hair around the end of the pin
  • Then slide a grip down the middle (downwards towards the roots) to hold it in place 
  • Hold the straighteners over this for 5-10 secs
  • Leave it to cool and set before taking it out
  • You can then lightly brush this out to make it much more frizzy and give it more volume
  • Then style as you desire


    I found creating this style quite straight-forward. I actually really like the waves when they are tight and defined, but I think the frizzing technique/style will work well when creating an Elizabethan look.

Wednesday, 15 October 2014

Initial research

The key to this hairstyle looking Elizabethan is the use of pearls being threaded through the plait, and this is what I like about this style - it is fairly simple but quite effective

The use of plaits to create buns is very effective in this instance, as the plaits appear clearly defined, and thus make the style look more complex and comprehensive 

This portrait shows Queen Elizabeth I with red hair and curls flowing onto the shoulders

This image to me seems like a common style that Elizabethan's would wear, because it would be practical but also looks effective. 

I like how in this picture different plaits have been used to create texture and different layers within the hair. It all looks very neat and precisely finished. 

Realistically, I think this look would be unachievable for me to create, but it allows you to see the extent of things that you can do with hair, and that there literally are no boundaries. This style looks extremely complicated but it works very well and incorporates many different plaits and braids, as well as using accessories within it. 

The project brief - Redheads & Royalty


The brief focuses on collating historical research and technical observations of the hairstyles used in the Elizabethan era. You should consider the various hairstyles and hair colours used by Elizabethan women with reference to their age, class and status.

You are required to practice a variety of historically accurate Elizabethan hairstyles in class, you are also going to create a more contemporary version using clear references to a style of Elizabethan hair you are inspired by. Develop the project by referencing contemporary versions of Elizabethan hairstyles. 

Being perfectly honest, I do not know an awful lot about Elizabethan hair or the techniques they used, but I am definitely excited to learn! The only thing I know and am confident about is the fact that they use very tight curls and tend to have their hairline quite far back.

But on that note, I am looking forward to learning how to create the type of styles they used and seeing how they differ, or are still used in today's contemporary society and modern fashion. 

Curling & Crimping

Curling the hair
(We will be using a barrel tong to create spiral curls)

  • Heat the tong up to around 25 degrees
  • Start from the bottom 
  • Section the hair so that the majority is clipped on top of the head, but there is one section left down which you will curl
  • Take a square section of hair and clip the end into the tong
  • Wrap the hair onto the tong, ensuring the curlers are kept upright
  • Use the comb to separate the tong and scalp if necessary
  • Leave this on for about 12 secs
  • Remove the tong by wiggling the wand out underneath the curl
  • Clip this into place with a grip, to ensure it cools in this position


  • Take another square section of hair and curl this piece in the opposite direction
  • Alternate the direction of curls throughout the whole process
  • Carry on curling the hair in sections, working your way up
  • When you get to the top of the head, ensure the tong is vertical (facing down)


Crimping the hair 
  • Heat the crimpers up to about 190 degrees
  • Section the hair off, starting from the bottom
  • Ensure the section you take is not wider than the width of the crimper
  • Firmly press and hold the crimper for 5-10secs
  • Move down slightly, so that the waves join up - ensure you allow some slack so you do not pull the previous waves out


  • Repeat this process all the way down the section and then all over the hair


You can then experiment with brushing the hair out/styling it and moving it around….


Wednesday, 8 October 2014

How to create 3 different plaits

Creating a standard plait
  • Separate the hair into 3 equal strands. Hold 2 strands in your right hand with your palm facing up. Hold the third strand in your left hand.
  • Turn your right hand over so your palm is now facing down. This makes the right strand now in the middle and the middle strand on the right.
  • Switch hands and hold right strand in the right hand and the middle strand and left strands in the left hand with palm facing up. Turn your left hand until your palm is facing down.
  • Repeat steps 1 - 3 until there is no hair available to braid. Fasten with a hair band.
A basic plait

Creating a french plait
  • Take 3 sections of hair and plait as normal to give tension
  • Take a section of hair from the opposite side to which the middle piece is facing
  • Pull this onto the middle piece (leaving you with 3 strands still)
  • Continue the plait until you get a new middle piece 
  • Take a piece of hair from the other side and pull over the middle piece
Continue doing this until there is no more hair left to plait
A french plait


Creating a fishtail plait
  • Part the hair into 2 equal sections 
  • Take a small strand of hair from one side and cross it over to the other side
  • Repeat with the opposite side
  • Continue this until there is no hair left to plait
  • Do not do this too tight, and do not take strands which are too large 
  • If you are finding it difficult or it is your first time, I recommend putting the hair into a ponytail first and plaiting the ponytail

My 1st attempt

My 2nd attempt

My 3rd attempt
Fishtail plaits were the only plait out of the 3 that I had never attempted before, but by the 3rd attempt I think I was beginning to get it right and it worked quite effectively. I began learning the correct size of the strands that I should be adding, how tightly I should be pulling and how much tension there should be, and just in general how to hold and create the plait.
The key thing to remember is practice makes perfect!

How to create a bun (without a doughnut!)

You can have this bun on the side of the head or lower down at the nape of the neck, but I am demonstrating it quite high up on the head. Also, the look I am creating is a half up, half down style due to the complexity that is added when you focus on getting on the hair from underneath into the bun as well. 
  • Brush the hair through until there are no knots of tangles (removing any partings
  • Use a pin tail comb to separate the hair from just above the ears
  • Comb up and create a pony tail high up onto the head (if heavy hair, then double band)
  • Brush this ponytail through
  • Take the front section of the pony tail (bearing in mind it will be separated into 4)
  • Lift this piece up and backcomb close to band up to the mid length of the hair
  • Then comb and smooth through the side that will be on show
  • Roll this piece of hair using 2 fingers creating a barrel curl shape (make sure it is square and facing forward, and that there are no twists)
  • Place a curvy grip into each side of this roll (2 if thick hair)
  • Repeat this process with the other 3 
  • Then use hair pins to manipulate the hair to close the gaps
  • This should make the bun much more rounded rather than square

  • When you are happy with the shape, put the hair pin into the base of your bun against the scalp (make sure the pin is not too wide)
  • If there is a problem, simply remove and fix the section, instead of taking down to whole style


The end result


I enjoyed creating this style, because it is something that does not take an immense amount of time, but yet still look very effective. It saves the awkwardness and problems of having to use a doughnut but still gives the same sleek result.

The shape and size of my bun was good, and I think I did fairly well for a first attempt. However, the only problem I did encounter was that where you remove the gaps, some of the hair had actually twisted slightly and was almost edging out of its ‘area’ - the hair was originally in the side roll but had moved too far over into the front roll.

Hair is twisted slightly